Termux & Remote SSH

- Posted in Android by

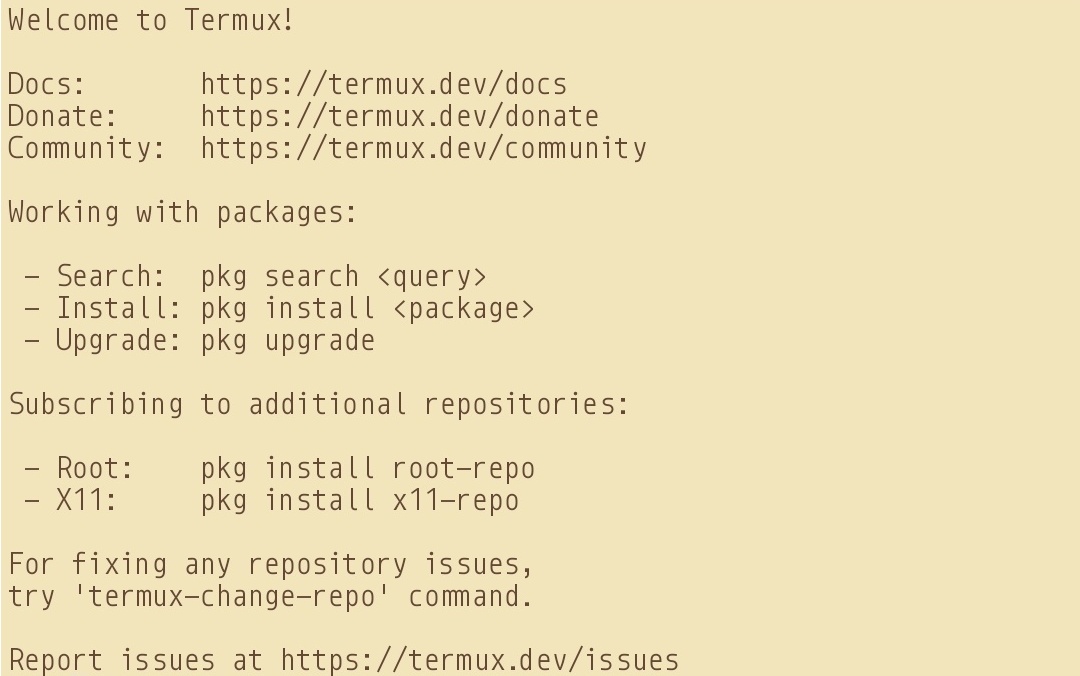
Install Termux & Termux Styling

Upgrade packages & install openssh and iproute2 on termux.Also, install root packages & busybox package if you need them.

pkg update -y && pkg upgrade -y
pkg install openssh -y
pkg install iproute2 -y
pkg install root-repo -y
pkg install busybox termux-services -y

If you like, you can also add the following termux repositories:

echo "deb https://grimler.se/termux-packages-24 stable main" > $PREFIX/etc/apt/sources.list
echo "deb https://grimler.se/termux-packages-24 stable main" > $PREFIX/etc/apt/sources.list.d/game.list
echo "deb https://grimler.se/termux-packages-24 stable main" > $PREFIX/etc/apt/sources.list.d/science.list

Ensure to setup the storage and stuff beforehand. See here: Setup Storage

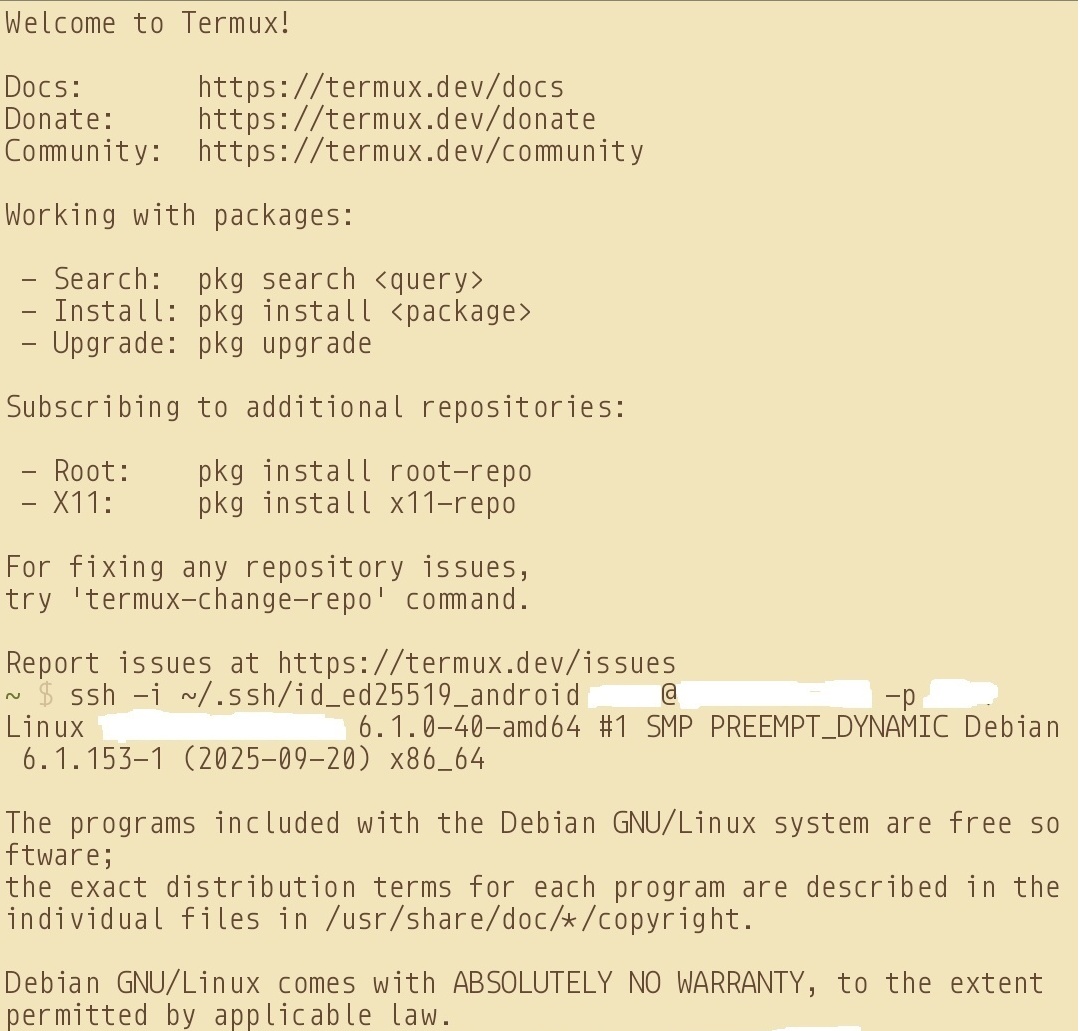
Create SSH Private/Public Key Pair on Android - Termux

In our android device, we need to generate SSH key pair for connecting to SSH server the remote machine (example debian). So, run the following command (this will also name the file as android for easy referencing):

ssh-keygen -t ed25519 -f id_ed25519_android

This will create the public & private key files in the ~/.ssh folder (/data/data/com.termux/files/homes/.ssh)

Send SSH Public Key to Remote Machine

Run cat ~/.ssh/id_ed25519_android.pub from termux which will return the public key for your android device.

It will be something like this:

ssh-ed25519 ABCDE1AaaA1aAAA1AAA1AAAAAAAAAaaaA1AaaAaaaAaaa1aAAAAaaAAAAaAaaaAAaaAA user@host

Now copy and paste this key to your remote machine either via the chat box option in the file transfer assistant app PlainApp or copying the id_ed25519_android.pub file across to your remote machine and then copy the content to ~/.ssh/authorized_keys file ($HOME/.ssh/authorized_keys).

Now kill any running sshd service by typing in termux: pkill -9 sshd. This is to let go of any cache or broken service pipes.

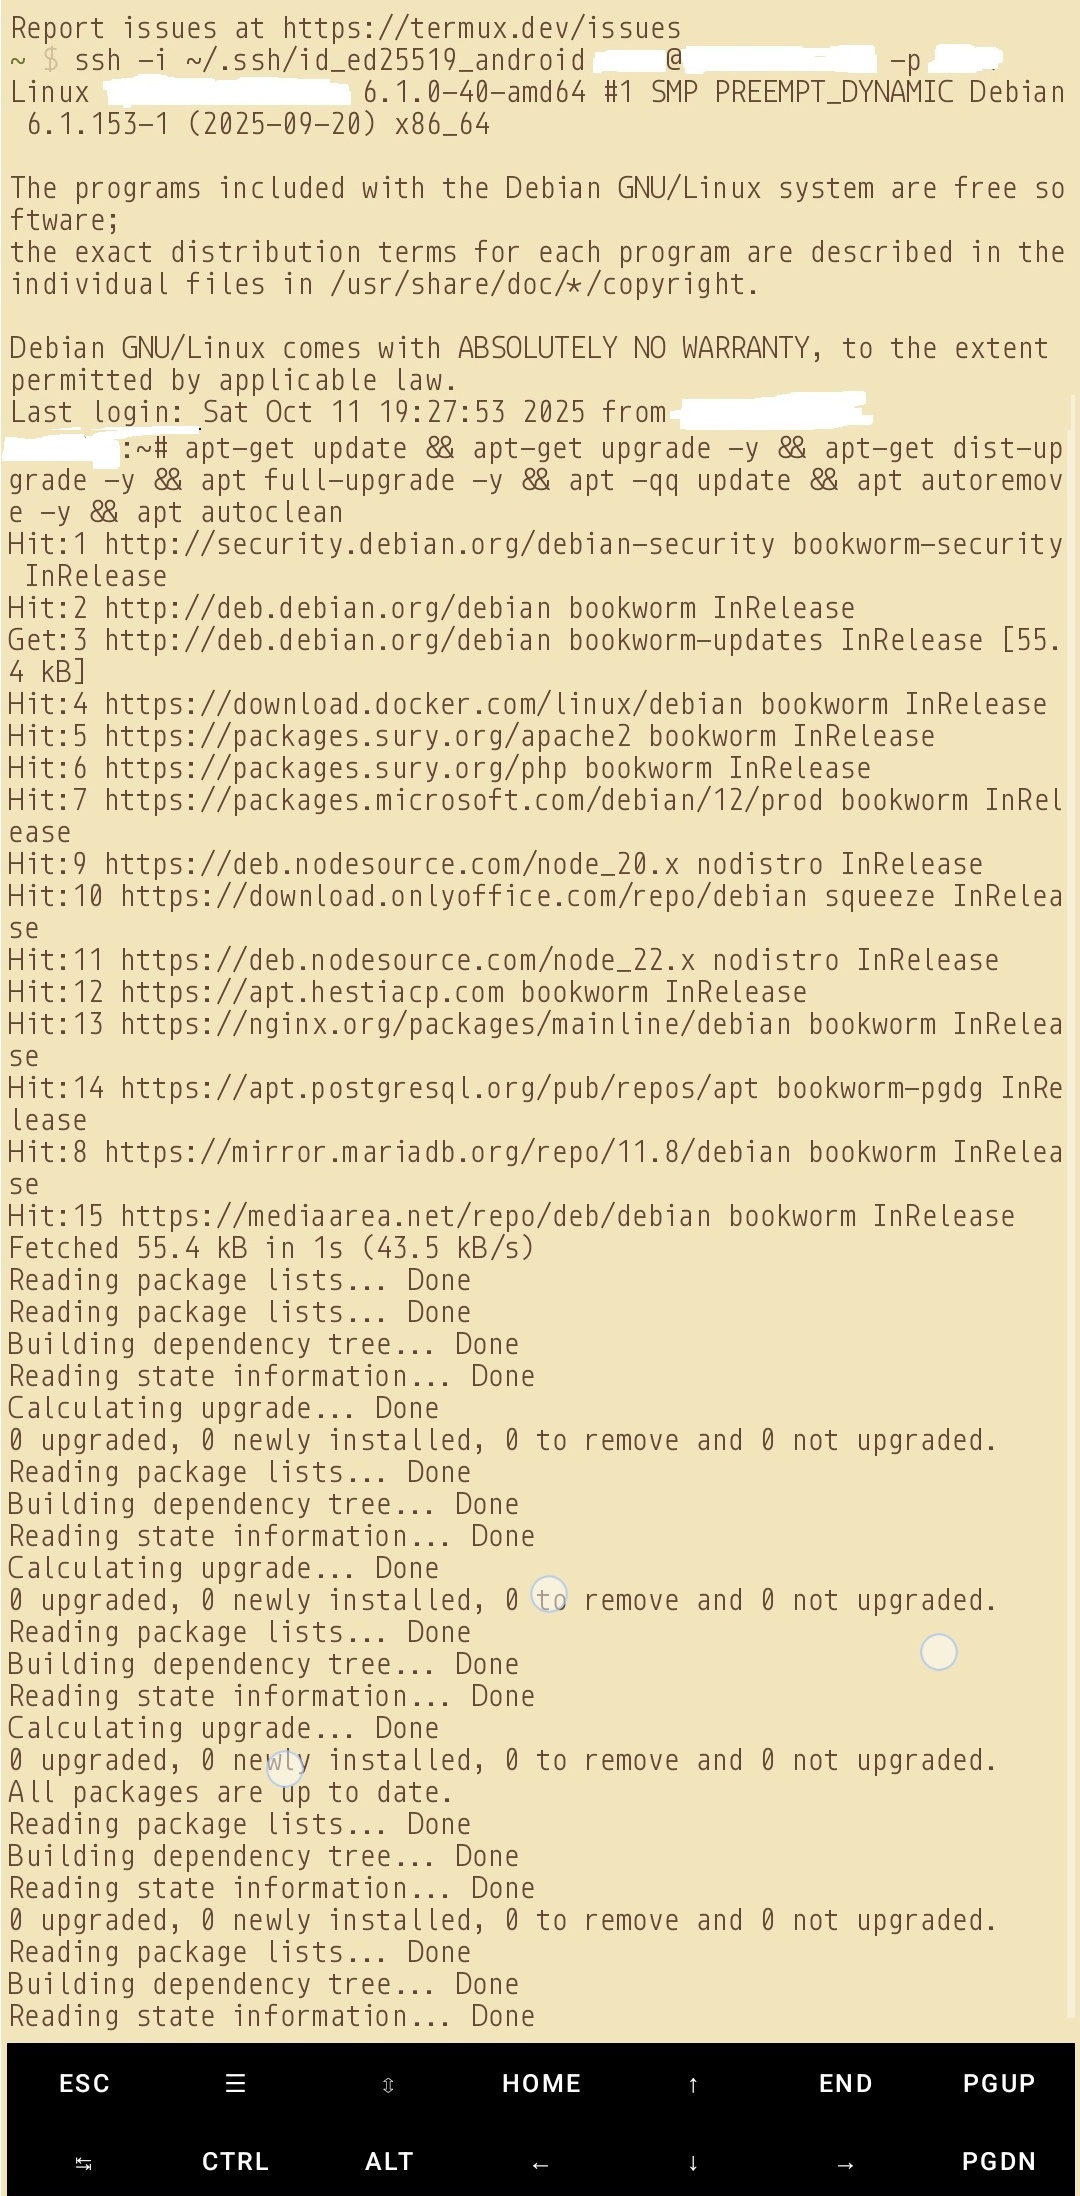
Now rerun sshd and connect to your remote server using the private key as pairing for the public key, via:

ssh -i ~/.ssh/id_ed25519_android user@host -p 1234


Sources & my own racking of 5 days:

Termux Wiki | Termux Repos | Some Logic


Sample images:

  • Main Screen

Termux Main Window

  • SSH Connected

SSH Connected

  • Sample Commands

Commands being run

Install Hestia Control Panel (Debian 12 Root Server)

- Posted in Guides by

I recently purchased a KVM root server from Netcup to finally move my FbIN domain and the related services there. Those being very resource hungry items, my current shared hosting setup was making my life a pain. It has been a place where I was restricted a lot, being shared resources, shared space, and everything. I even tried at home networking, but being CG-NAT, nothing worked, not even DDNS.

So, let us start with it.

Requirements: Writing for example KVM - RS 2000 G12 1M Rabatt (netcup) Operating System: Debian 12 Bookworm - Minimal Install Processor: AMD EPYC™ 9645 Processor cores: 8 dedicated RAM DDR 5 ECC: 16 GB Hard drive: 512 GB NVMe SSD Location: Europe Hestia URL: Getting Started Documentation | Generate Installation Script | WGET URL | List Of Installation Options

enter image description here


Note: Installer needs to be run as root. Also, Hestia must be installed on top of a fresh operating system installation to ensure proper functionality. If on a VPS/KVM, and there is already an admin account, either delete that default admin ID, or use --force to continue with the installation. See my custom installation script below for further details. Hestia only runs on AMD64 / x86_64 and ARM64 / aarch64 processors. It also requires a 64bit operating system! Hestia currently does not support i386 or ARM7-based processors.

Note: Never run a web or mail domain with the admin user.


Login

  • Login to your server via SSH/Terminal
  • Update your system apt update && apt upgrade -y

Download

  • cd /home
  • wget https://raw.githubusercontent.com/hestiacp/hestiacp/release/install/hst-install.sh

If the download fails due to an SSL validation error, please be sure you've installed the ca-certificate package on your system - you can do this with the following command:

  • apt-get update && apt-get install ca-certificates

Run this Installation Script

bash hst-install.sh --hostname 'examplepanel.domain.tld' --username 'admin' --email 'workingmail@domain.tld' --password 'strong&complexpasswordhere' --multiphp '8.2,8.3,8.4' --postgresql yes --sieve yes --webterminal yes --force

This command will force install Hestia in English with the following software:

  • Nginx Web Server
  • PHP-FPM Application Server
  • PostgreSQL & MariaDB
  • Database Server
  • IPtables Firewall + Fail2Ban Intrusion prevention software
  • VSFTPD FTP Server
  • Exim Mail Server
  • Dovecot POP3/IMAP Server
  • Sieve
  • ClamAV
  • API
  • Web Terminal
  • Port 8083

Once installed, you can start accessing your installation at: https://panelexample.domain.tld:8083 or http://your.public.ip.address:8083

Login Page

enter image description here

Control Panel Homepage

enter image description here

Enable two-factor authentication (2FA) for the admin user -- Documentation

Since the admin user has full control on the server, as well as elevated privileges, it is greatly recommended that you enable 2FA on this account. To access your account settings, click the user button in the top right.

  • In your account settings, check the box labeled Enable two-factor authentication.
  • Click the Save button in the top right.
  • Scan the QR code using an authentication app.
  • Save your Account Recovery Code somewhere safe, in case you lose access to your authenticator.

To secure your account further check out the following tutorial (applies to everyone using linux): Secure Linux Server